How to Make Coffee in a Camping Kettle
Learn how to brew delicious coffee in a camping kettle with this straightforward guide. Perfect for campers seeking an easy caffeine fix! Read more.
There’s something magical about starting your morning in the great outdoors with a warm, aromatic cup of coffee in hand. For campers, outdoor enthusiasts, or anyone who loves truly connecting with nature, brewing coffee in a camping kettle can transform your average cup into a cherished ritual. It’s not just coffee—it’s an experience, a moment to savor simplicity amidst the serene beauty of the wilderness.
Whether you’re enjoying the stillness at sunrise or fueling up for a day of adventuring, making camp coffee is a must-have skill. Thankfully, you don’t need a fancy setup to brew coffee outdoors—just the right tools, quality coffee grounds, and a bit of know-how. Below, we’ll guide you step-by-step through brewing the perfect coffee in a camping kettle.
Essential Tools and Ingredients
To get started, gather the following tools and ingredients for your camping coffee setup:
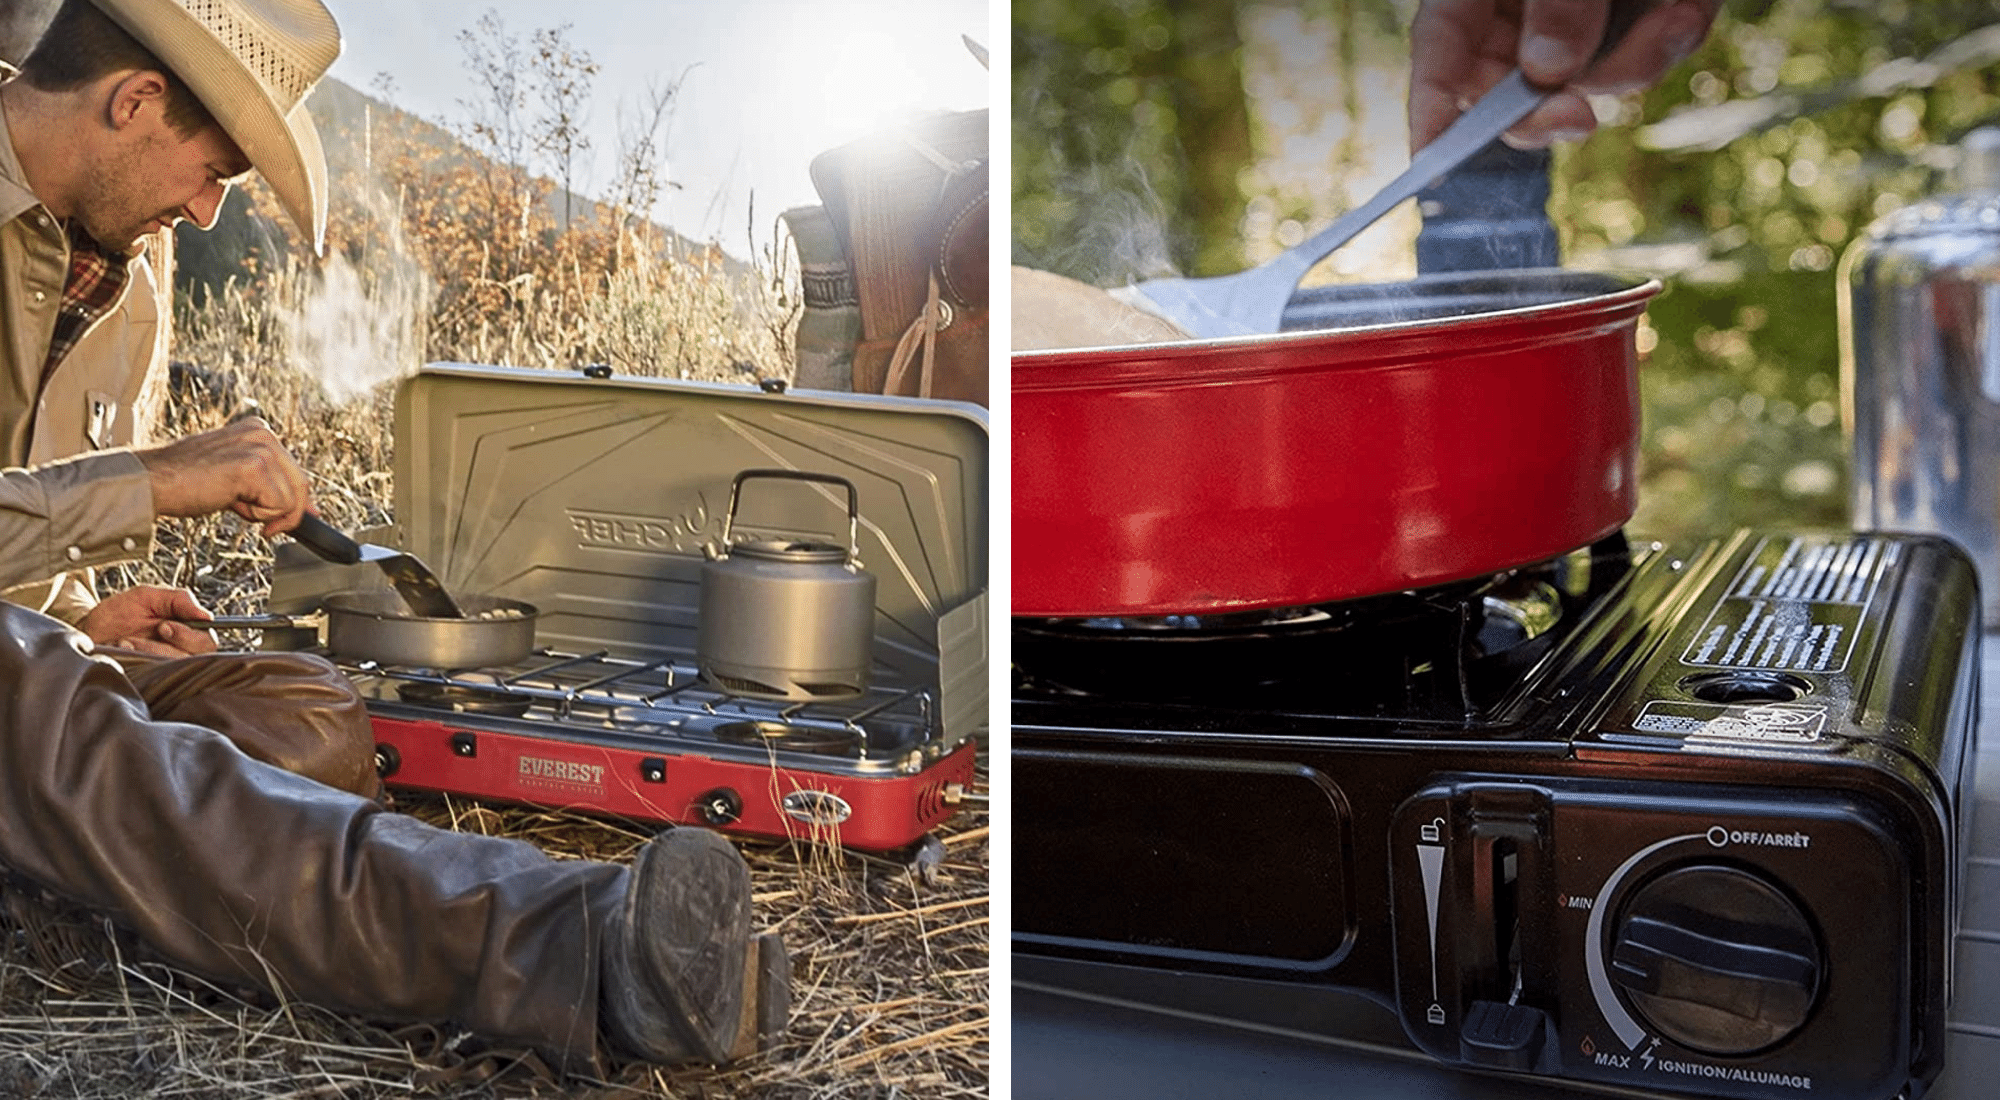
- Heat Source: A portable stove or a small grill will work perfectly. A campfire or camping stove is essential for heating the kettle.
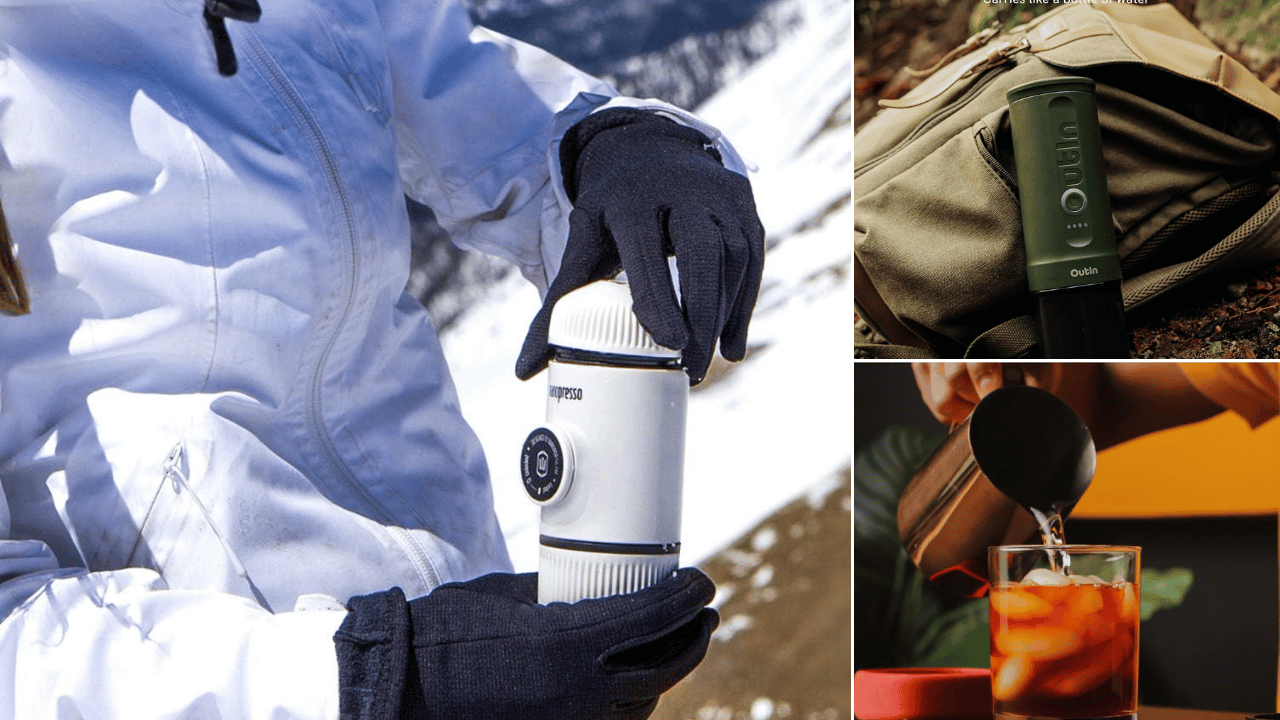
- Brewing Accessories: Bring along your favorite coffee maker. Various camp coffee makers like the AeroPress and GSI products are excellent choices for outdoor brewing.
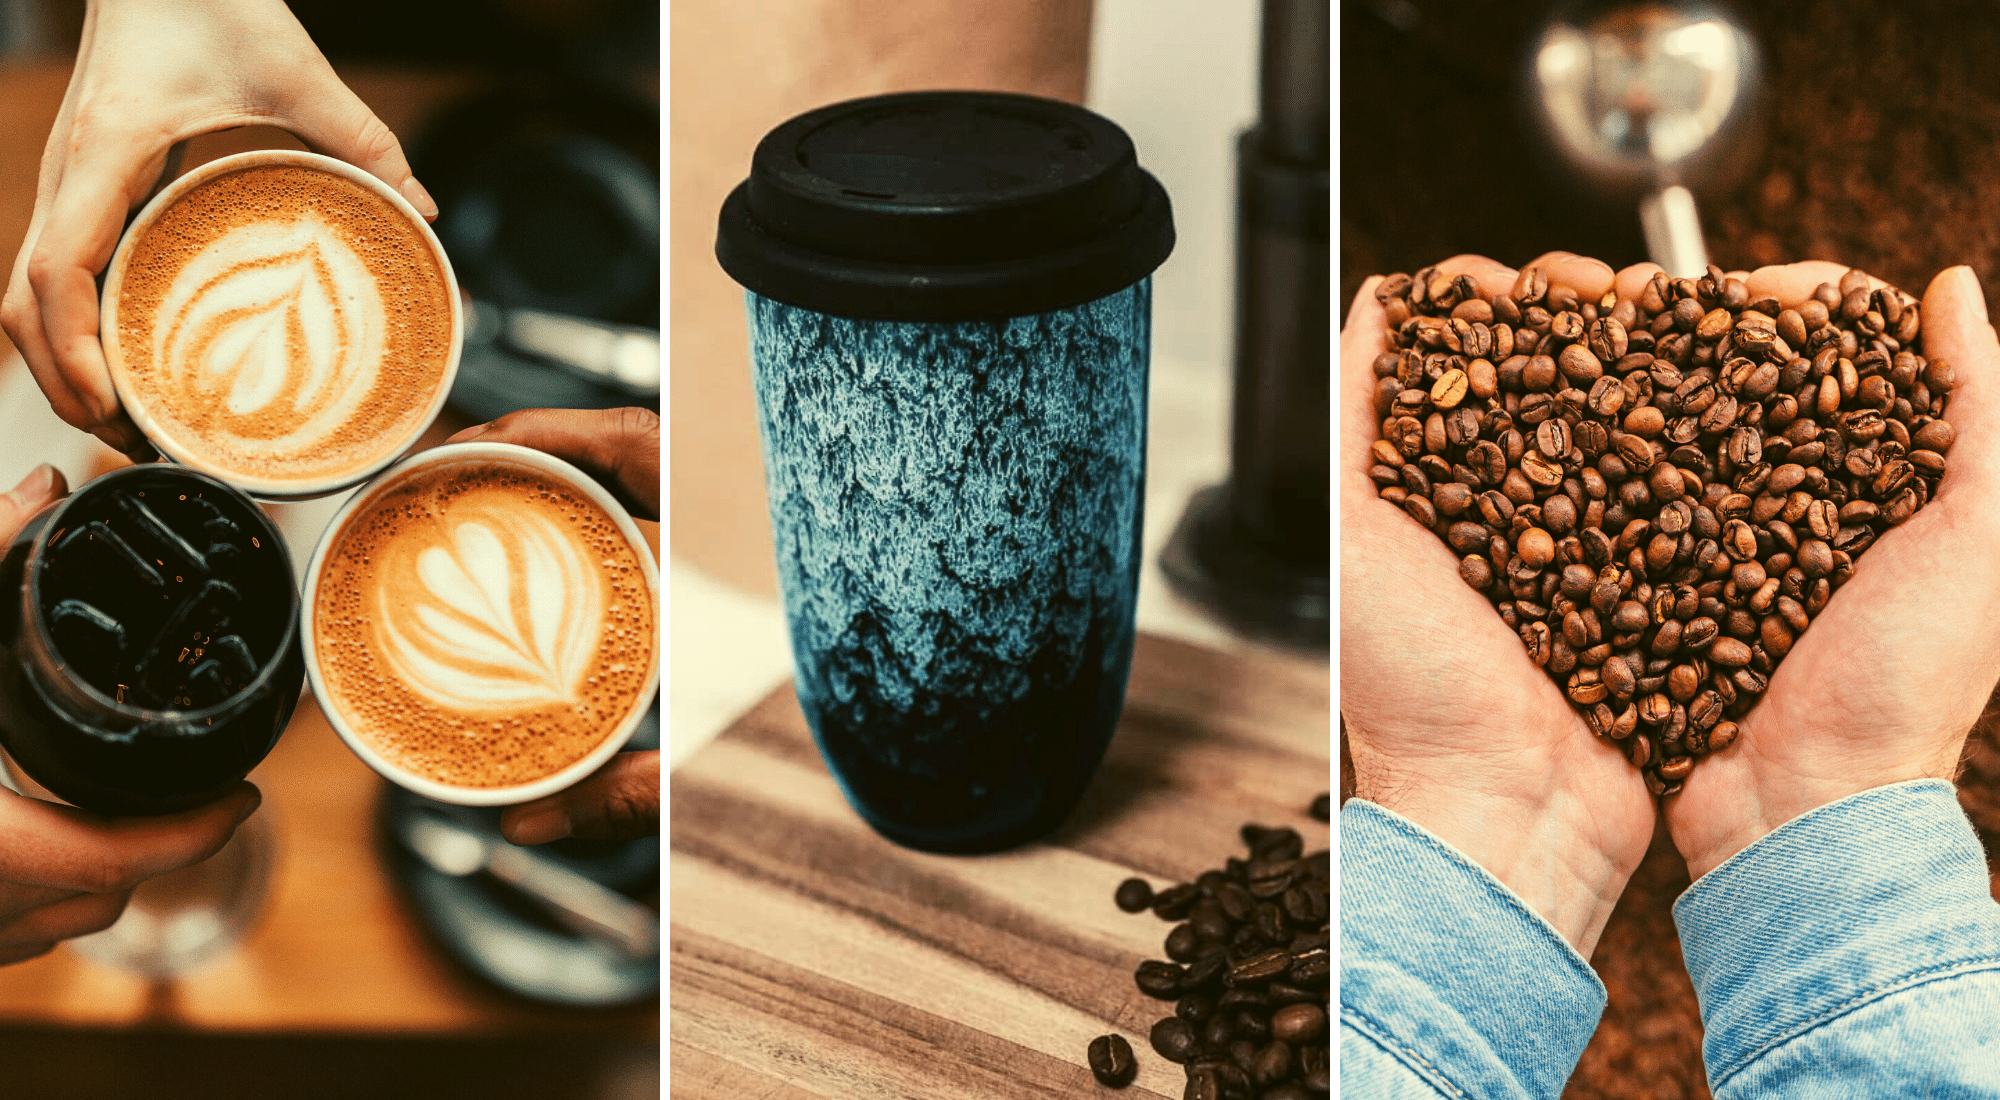
- Coffee Beans: Freshly ground coffee beans are ideal for the best flavor.
- Water: Clean, filtered water is crucial for a great cup of coffee.
- Kettle: A lightweight, durable kettle is necessary for boiling water.
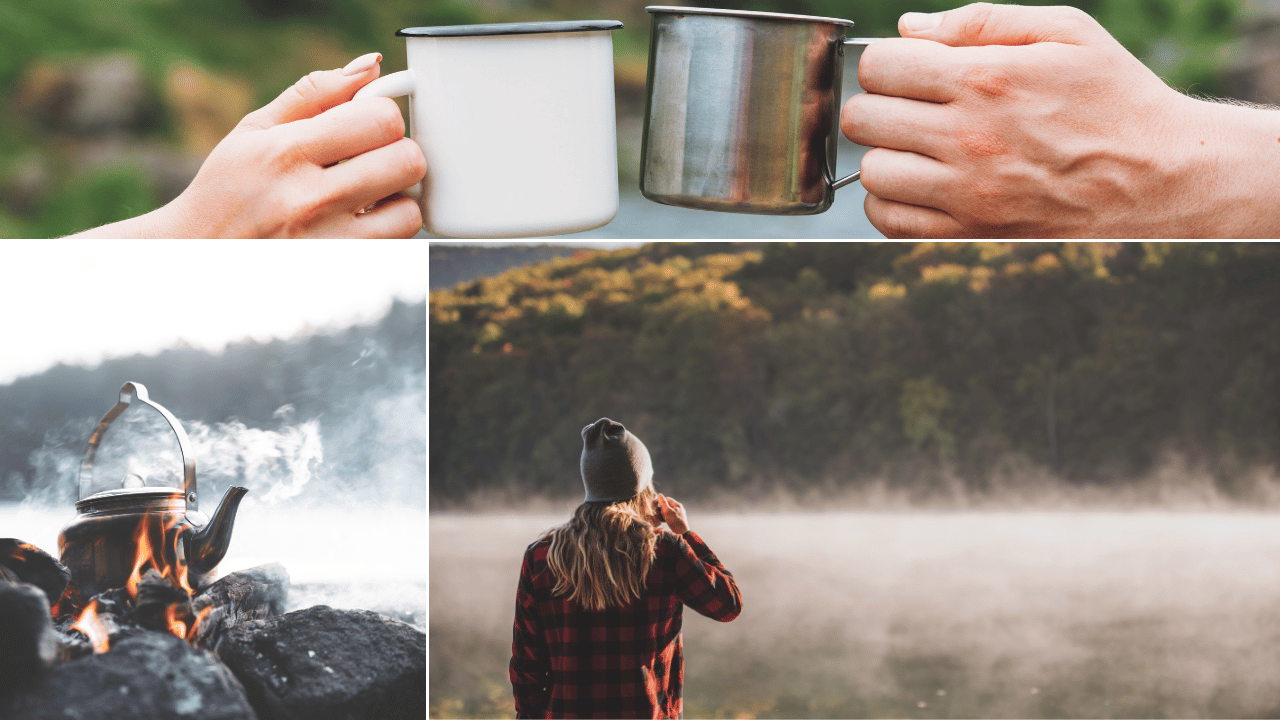
- Mug: A sturdy, insulated mug will keep your coffee warm longer.
Tools You’ll Need
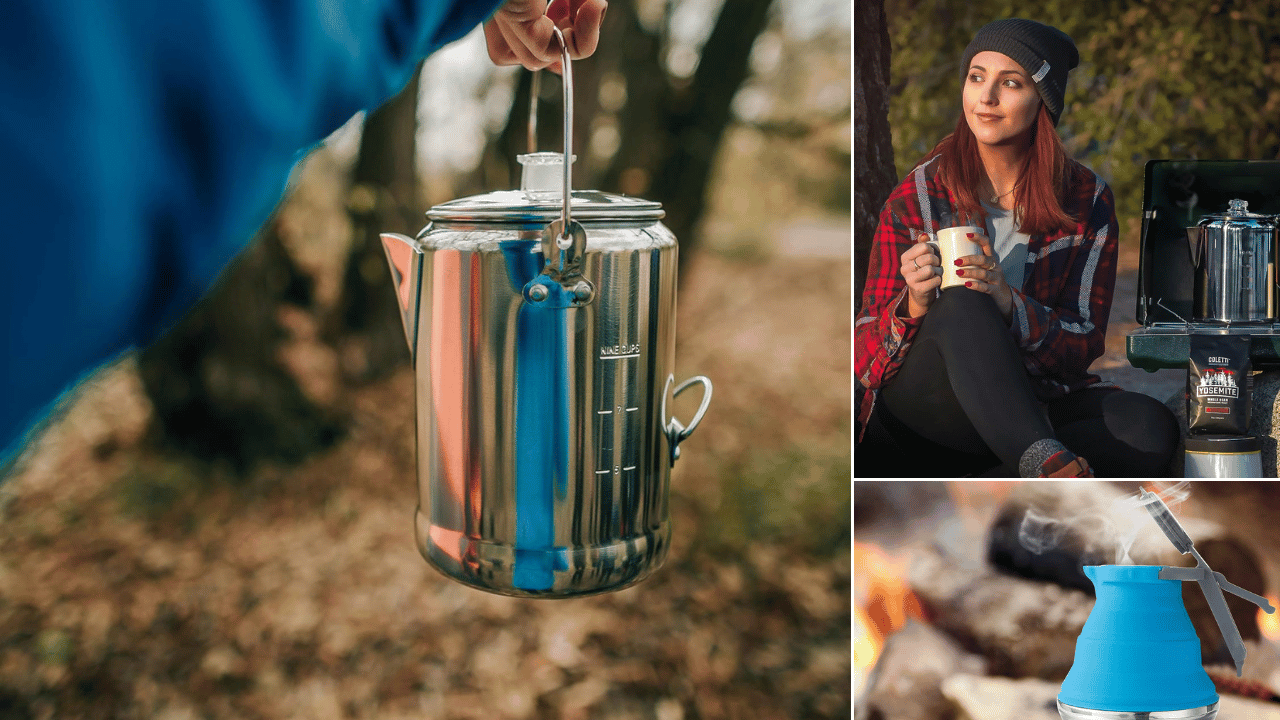
- Camping Kettle: This is the star of the show. Choose one made of durable, heat-resistant material like stainless steel or aluminum.
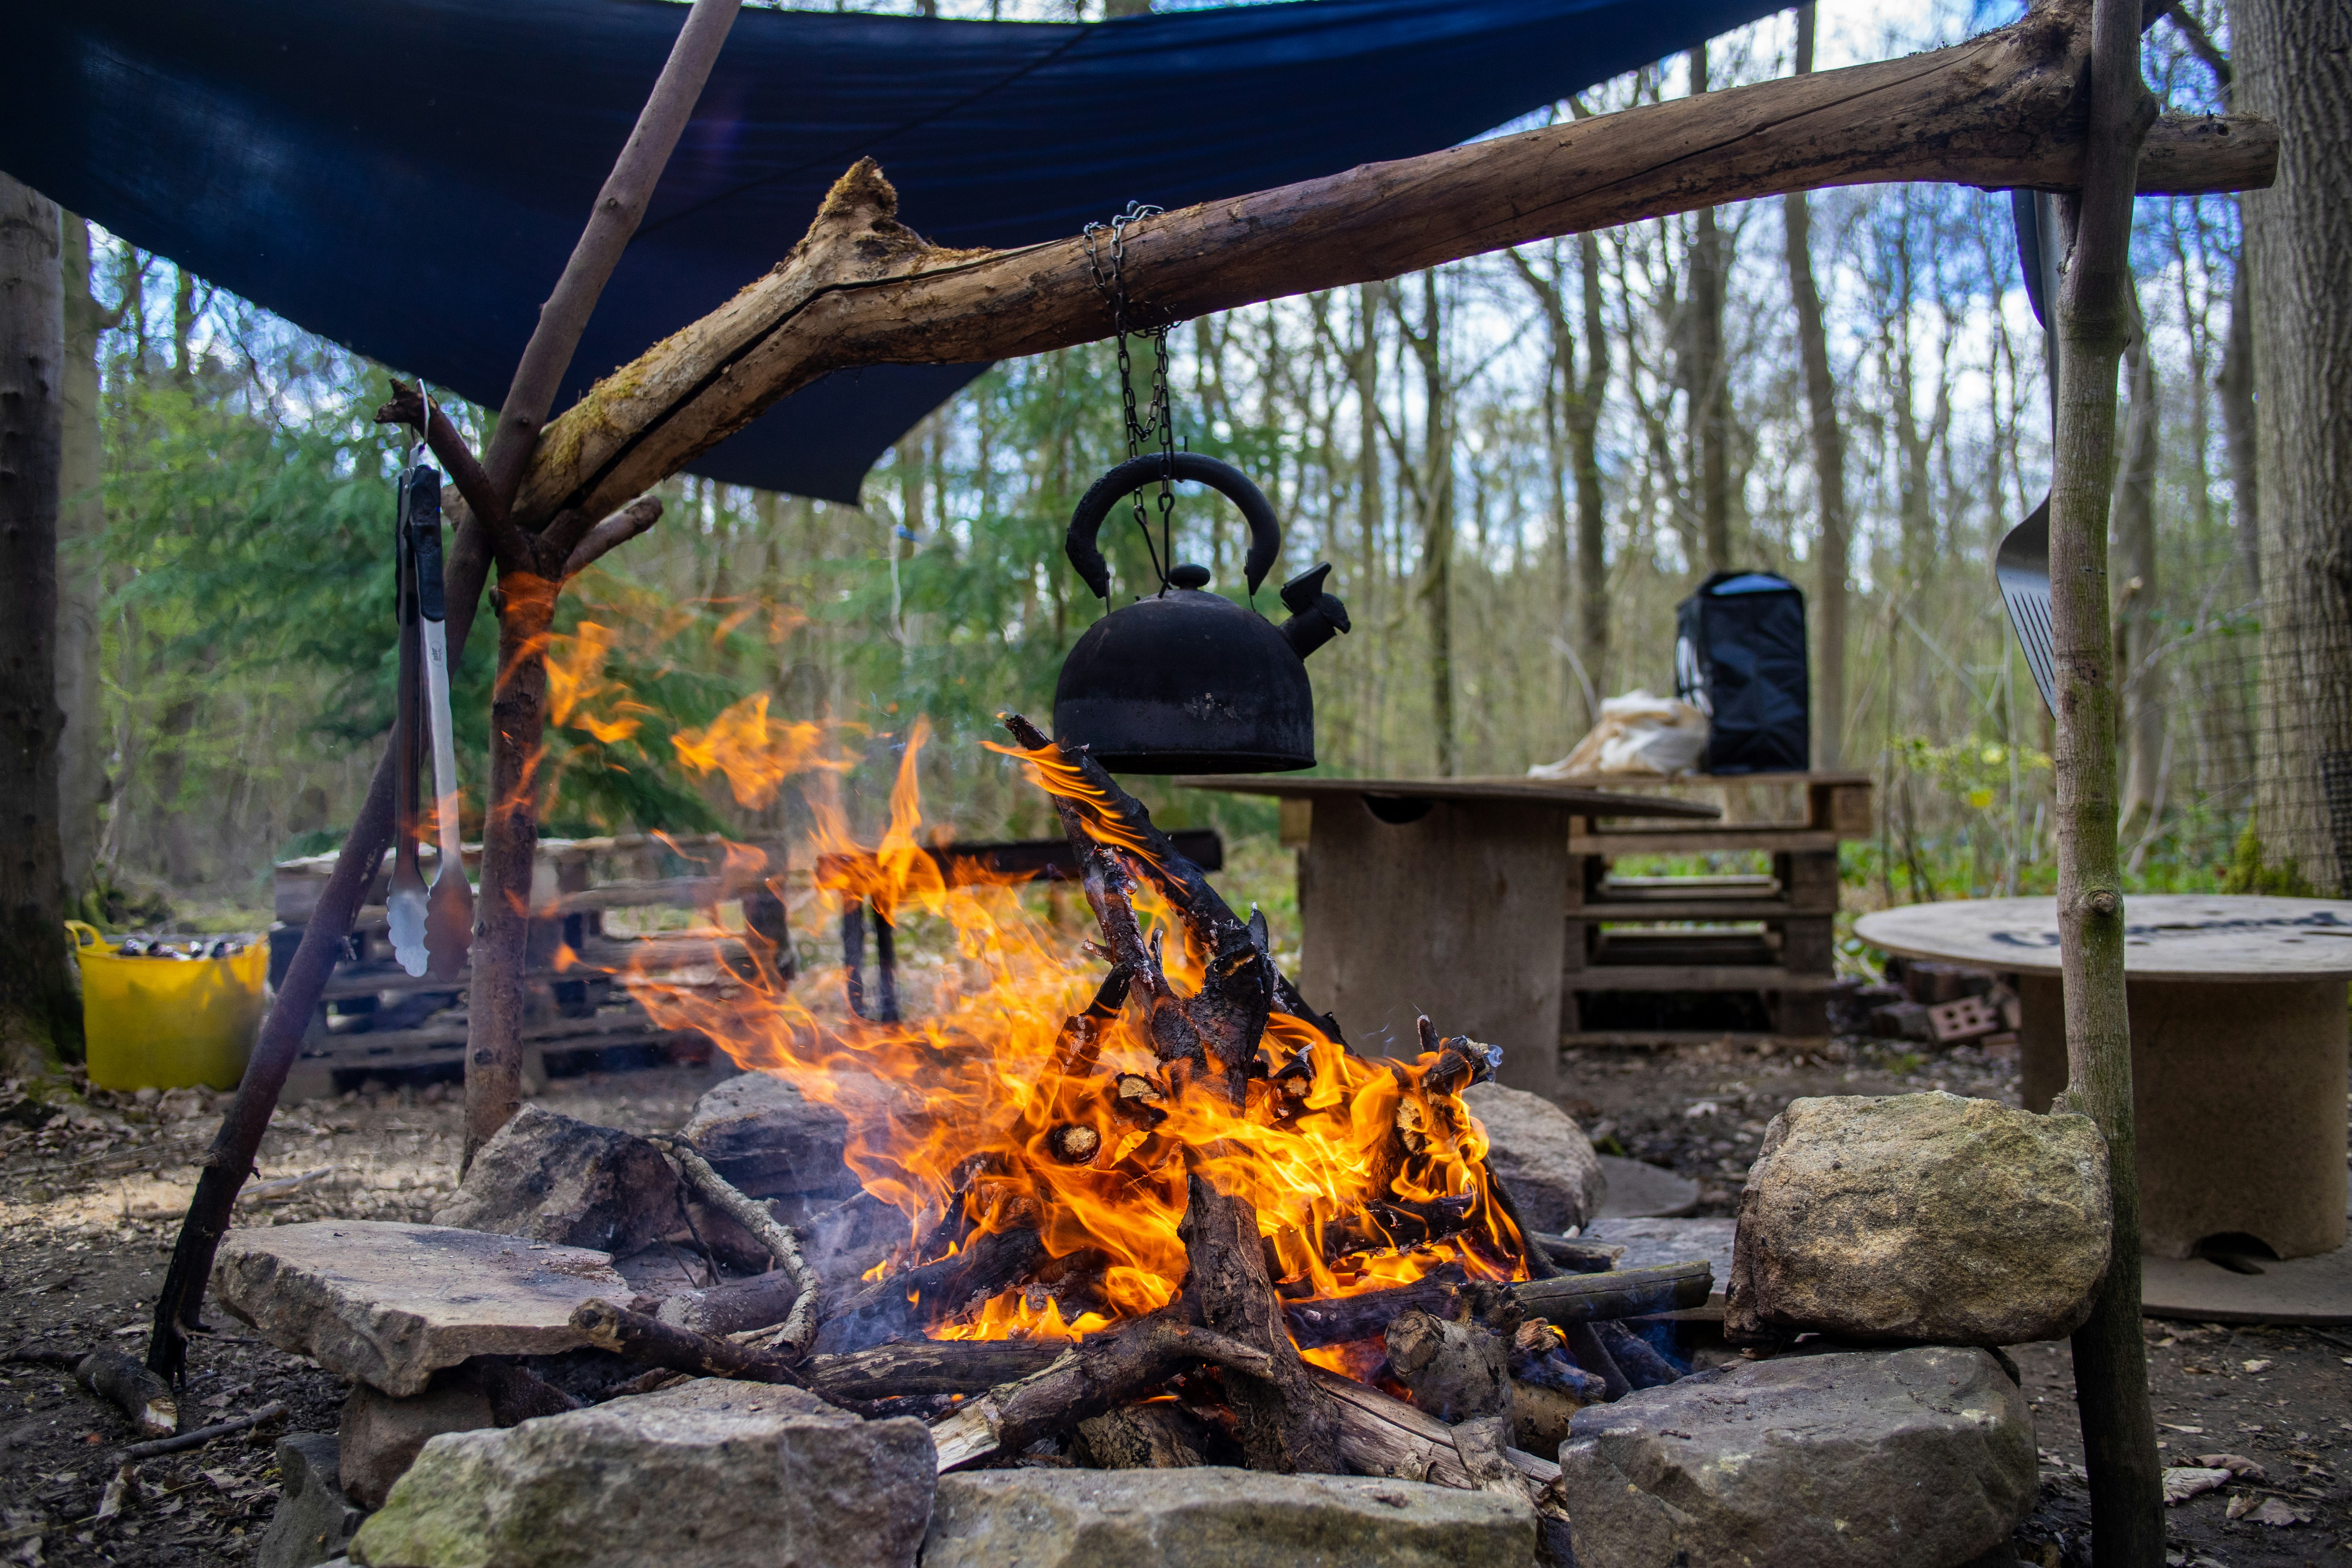
- Heat Source: A campfire is the classic option, but a portable camping stove or grill rack will also work perfectly.
- Brewing Accessories (Optional): Coffee filter, drip brewer, camping percolator, camping coffee percolator, or French press setup can enhance your brewing experience.
Coffee Options:
- Coffee Grounds: Pre-ground coffee is the simplest, but freshly ground coffee beans deliver unmatched flavor.
- Instant Coffee: For those who value speed over process, instant coffee is a quick and easy solution.
- Whole Beans + Grinder: If you’re looking to take your camp coffee to the next level, bring whole beans and a burr grinder for on-the-spot freshness.
Other Essentials:
- Filtered Water for the best-tasting brew.
- Coffee Mug, because sipping out of a kettle isn’t the easiest experience.
Now that you’ve gathered everything, it’s time to brew coffee like a pro in the great outdoors.
Choosing the Right Equipment for Camping Coffee
When it comes to brewing coffee while camping, having the right equipment is essential. Here are some key pieces of equipment you’ll need to consider:
Heat Source
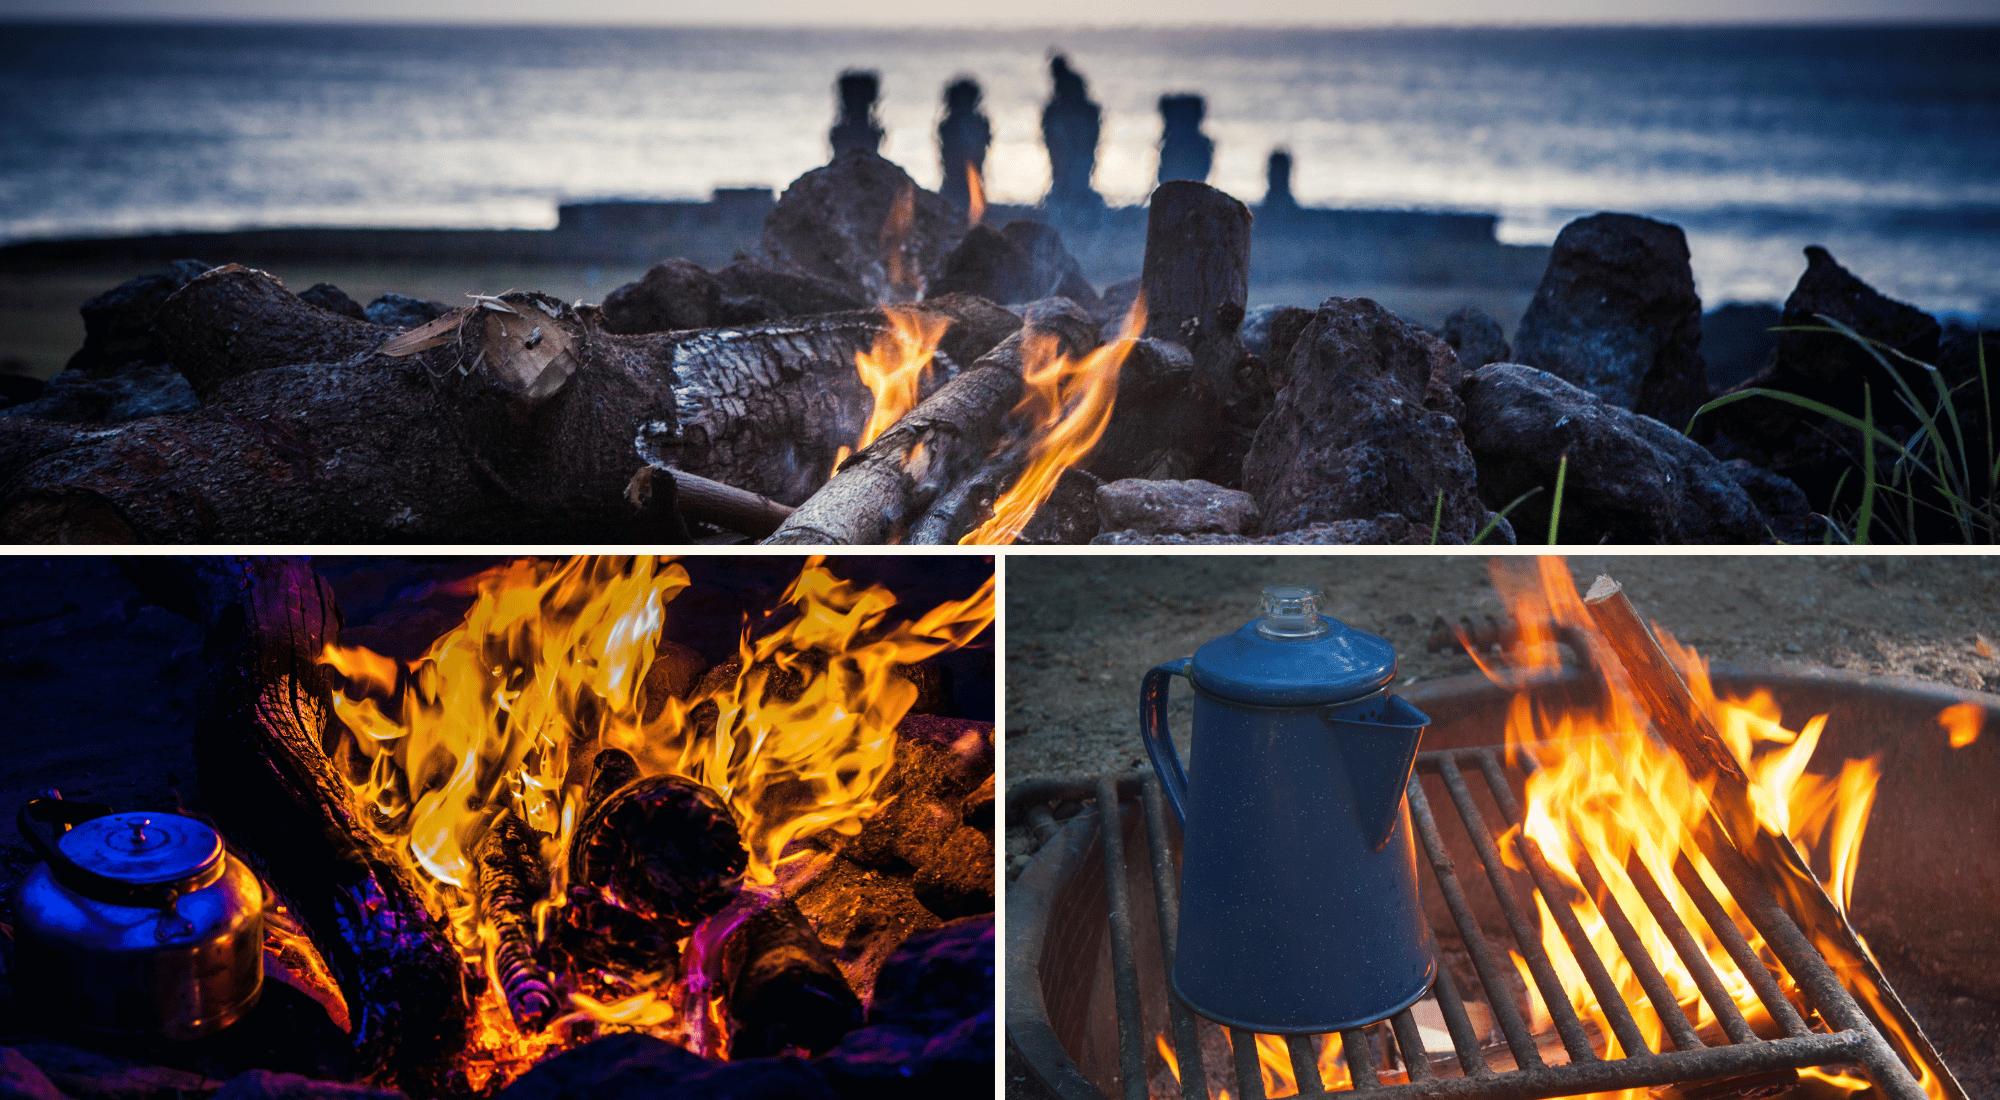
A reliable heat source is crucial for brewing coffee in the wild. The classic choice is a campfire, which adds a rustic charm to your coffee-making ritual. However, a camping stove is a more controlled and convenient option, especially in areas where open fires are restricted. For those who prefer modern conveniences, a portable electric kettle or even a solar-powered kettle can be excellent alternatives. Consider the type of camping you’ll be doing and the weight and space constraints of your equipment when choosing a heat source. Whether you opt for a campfire or a camping stove, the goal is to achieve a steady heat for boiling water.
Pan or Kettle
A sturdy pan or kettle is indispensable for boiling water, a critical step in brewing coffee. Look for a pan or kettle that is durable, lightweight, and easy to clean. Stainless steel or aluminum kettles are popular choices due to their heat resistance and durability. A kettle with a built-in thermometer can be particularly helpful for achieving the perfect temperature for brewing coffee, ensuring you don’t scald your precious grounds. Remember, the right kettle can make all the difference in your camp coffee experience.
Grinder
For the freshest and most flavorful coffee, grinding your coffee beans on the spot is key. A portable grinder is a must-have for any serious coffee enthusiast. Look for a compact and lightweight grinder that won’t take up too much space in your pack. Hand grinders are a great option for their simplicity and reliability, while battery-operated grinders offer convenience and speed. Freshly ground coffee beans will elevate your camp coffee to new heights, making every sip a delight.
Selecting the Perfect Coffee Beans
Choosing the right coffee beans is crucial for achieving the perfect cup of coffee while camping. Here are some options to consider:
Coffee Bean Options
The type of coffee beans you choose can significantly impact the flavor of your brew. Arabica beans are known for their mild and nuanced flavor, making them a favorite among coffee connoisseurs. On the other hand, Robusta beans offer a bolder and more bitter taste, perfect for those who prefer a stronger cup. When selecting your coffee beans, consider the type of coffee you enjoy and the brewing method you’ll be using. Additionally, you can choose from a variety of roast levels, from light to dark, to suit your taste preferences.
When selecting coffee beans, look for beans that are freshly roasted and have a good reputation for quality. Some brands even offer coffee beans specifically designed for camping or outdoor use, which are often more durable and easier to brew with. Freshness is key, so opt for beans that have been roasted recently to ensure the best flavor.
Steps to Brew Coffee in a Camping Kettle
1. Preparing the Kettle
Before brewing, ensure your camping kettle is clean and dry. Residue from previous camping adventures can affect the taste of your coffee. A quick rinse and a wipe will do the trick.
2. Measuring Water and Coffee
The golden ratio for coffee is roughly one tablespoon of coffee grounds per cup of water. Depending on your personal taste, you can adjust this for a stronger or milder brew. Use filtered water whenever possible, as it enhances the flavor.
3. Heating the Water
Place your kettle over a campfire, portable stove, or grill rack. Use low to medium heat to bring the water to a boil. Keep an eye on the kettle—boiling too quickly can result in over-extraction when brewing.
4. Adding the Coffee Grounds
Here’s where your brewing style comes into play. You can choose one of the following methods based on the tools you brought along:
- Cowboy Coffee (Traditional Style): Add your coffee grounds directly into the boiling water, then remove the kettle from heat.
- Using a Filter or Brewing Bag: Place your coffee grounds in a reusable filter or brewing bag before adding them to the kettle. This simplifies cleanup later.
- Camp Percolator: If using a percolator, ensure the basket is securely in place to keep grounds out of your brew. The unique brewing process of percolator coffee involves cycling boiling water through the grounds, so it's crucial to use good quality coffee beans for the best flavor.
5. Letting it Brew
For traditional cowboy coffee, allow the coffee to steep for about 4-5 minutes. During this time, the grounds will settle at the bottom of the kettle, leaving the coffee ready to pour. If you’re using a percolator, monitor the process as it brews. Once satisfied with the strength of your coffee, remove it from heat.
6. Pour and Enjoy
Carefully pour your freshly brewed coffee into your coffee mug. If you brewed cowboy coffee, tip the kettle slowly to minimize the grounds escaping into your cup. Hold your mug, take a deep breath, and savor the comforting aroma of perfectly brewed camp coffee.
Variations and Tips
While the cowboy coffee method adds rustic charm to your mornings, it’s not the only way to brew coffee at camp. Experiment with these alternatives for different flavors and experiences:
- French Press: Use a compatible French press setup with coarsely ground coffee to enjoy a rich, smooth cup.
- Pour-Over Dripper: Pack a pour-over dripper for a more refined brewing process. Similar to a drip coffee maker, ensure you use a medium-coarse grind and fresh coffee beans to optimize extraction and flavor.
- Stovetop Espresso Maker (Moka Pot): Craving something bold? Brew up a rich espresso shot with a stovetop moka pot.
Pro Tips:
- Adjust your coffee-to-water ratio to achieve your desired strength.
- Store your coffee grounds in an airtight container to preserve freshness during your trip.
- Always bring extra coffee grounds or instant coffee to ensure you don’t run out unexpectedly.
Enjoying Your Camping Coffee
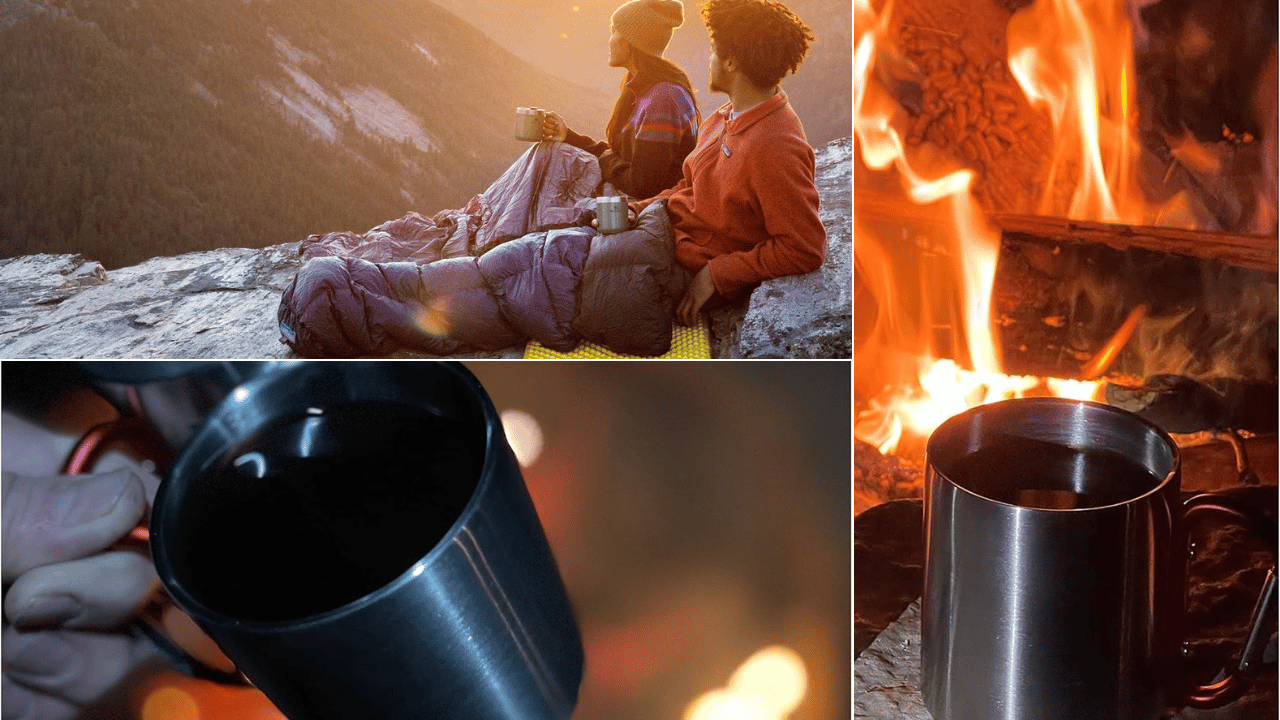
Pour your coffee into your favorite coffee mug and take a moment to soak in the surrounding beauty. Whether you’re watching the sunrise over a mountain range or listening to the peaceful rustle of leaves, your camping coffee has never tasted so good. The combination of fresh air and freshly brewed coffee creates an experience that’s simply unmatched.
Campers often say that coffee not only fuels their adventures but also strengthens bonds as they gather around the campfire to share stories and laughs over their morning brew. Share your coffee-making tips, favorite camping coffee setups, or memorable moments with fellow outdoor enthusiasts to keep the community spirit alive.
Final Thoughts About Making Camping Coffee in a Camping Kettle
Brewing coffee in a camping kettle doesn’t just satisfy your caffeine cravings—it adds a touch of joy and tradition to your outdoor adventures. From cowboy coffee to expertly curated methods, there’s a brewing style for every camper.
If you’ve never tried making coffee this way, pack your favorite coffee beans and a camping kettle for your next trip. Trust us, your mornings in nature will never be the same. Have your own tips for camping coffee? Share them with us—we’d love to hear your stories from the trail!
